To sew or not to sew? To use standard seed start containers, or to purchase the fancy setups with all the extra thrills and frills? So many questions and so many answers. Where do you begin?
We begin with the end – where will the mature plant end up growing. We still have many years where we over-start on our seeds. I blame it on all the great food produced the year before. It is usually only a few months from harvest/food processing time until our next year’s seed start time. (Processing usually ends in Oct. or Nov., and seed start is usually end of Jan. first part of Feb.)
This year will be no exception. We have received such a bounty from our work and the bartering with our great friends, that it will be impossible to not dig into starting a ton of seeds asap. Right now, we still start ours in the house, and it is a joy to see. Plant setups all over the place. Grow lights glowing until after dark (got to get those eight to ten hours of light in).
We have found, through a ton of trial and error, that the type of plant needs a certain type of container or all the magic grow methods in the world will not save it. Here are the things we have found:
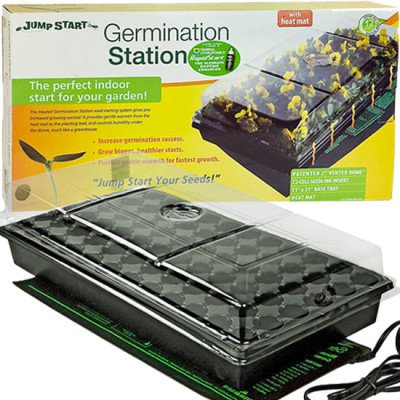
- Plastic trays: Usually with the cover to help heat them up and keep the moisture levels up. They are great for smaller starts. Usually, flowers as most of their seeds are tiny. If you do not have the covers (after a while ours all split, so we used them as extra support for the trays), plastic wrap works. You must watch the growth carefully. If you do not take the top off soon enough, your starts can get spindly. You can use a cut up the straw to prop up the plastic higher over the trays to allow more growth space (do NOT use toothpicks).
- Pressed cardboard cups: This is still our medium of choice for any plant that does not handle transplanting well. Usually, we will tear the bottom off or splice the sides before we put it into the ground. This allows for easy root expansion as it grows.
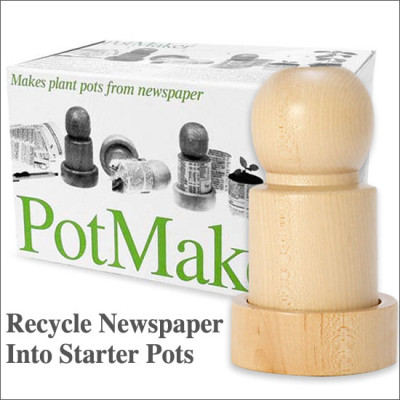
- Newspaper DIY: This is more earth-friendly than the cardboard ones. However, they do not usually hold up as well. If you are going to use these, make sure you have a good, strong support under them; and do not get them too wet.
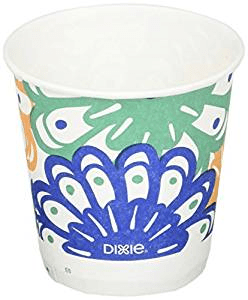
- Wax-lined disposable drinking cups: (like Dixie brand) We discovered this by cruising around on Pinterest. I was not sure it would work at first. I was afraid the plant would flood (they are meant to “hold” water), but then found that if we simply poked a hole about the size of a pen top in the bottom of the cup, place the planted cups in a tray, then water when needed – works great! We got a ton of cheap cups from the local dollar store. We used the flat trays we already have. Moisten the soil before planting and – ta-da – great seed start setup.
We also tried the major dispersement method this last year. That is where you take a ton of smaller seeds like tomatoes or carrots and throw them spread out over a prepped soil flat tray. As the plants start coming up you simply thin out the grouped bunches to just one or two. The only thing this went well for us on this method was the chipolini onions (FYI – small but outstanding flavor!). We decided that we loved our tomatoes and carrots too much even to toss out just a few. Broke our hearts – and tummies.
In conclusion, my plowshare Thursday note to you would be, decide where you are going to plant something before you start your seed sewing. If it is a large plant in need of full sun – try the cups or cardboard. If the plant does not like transplanting, start it in an earth-friendly container like the cardboard.
My very last tip for you is Beat the Snot out of it while you are planting it! We do this on everything we plant – no wimps here. This may just be our experience, but we have also seen how plants that get the snot knocked out of them during an early spring hail, usually come back great-guns after that.
Whatever you choose, make sure you do it with love, fun, and a bit of singing or humming never hurts (plants love music).
Happy Gardening!
Follow my blog with Bloglovin
You can also check me out on: www.lifelessonslived.com for all the fun things I have learned in life.
