I was not sure how to approach the interesting thing that happens this time of year. Yes, it is a new year, but it is also re-visitation time for garden prep season. With this season comes the attack of The Gardening Catalogs from Hell – dun dun daaa!

Those of you that have been gardeners for more than a year are fully aware of this danger. You receive so many catalogs, filled with so much fun stuff; you become a Seed Catalog Junkie. Sad but true, this is a disease. I have been lucky enough to not become infected. I limit myself to the task of making only the final decisions. My sister, however, is severely infected.
The ritual is for me to pick up the mail and gently place all garden and seed catalogs into her favorite chair. Her fav chair is on the mud porch (where she smokes – yuckie I know, but another bad habit she has), where she is solitary most of the time. Friday nights we hold game night in there, and the dogs get to stay in there at night or days that are super cold.
In her solitary confinement, she meditates on the varieties, colors, sizes, shapes, prices, and shipping. All of these things are used in determining who will be the prize winners and receive our selections.

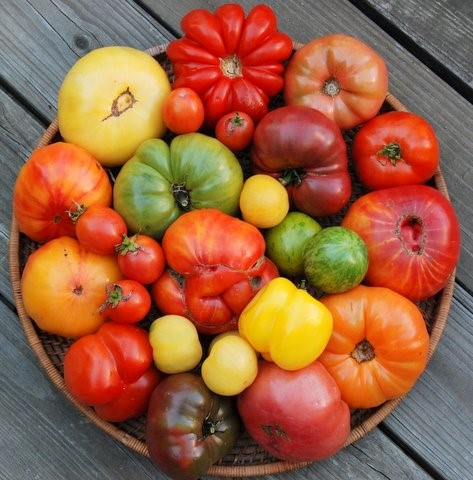
It must be noted that all of our entries are from organic, natural, and mostly heirloom variety sellers. We do not get into anything GMO and only look at hybrids in flowers. Each year we try to select something that we have never tried to grow before (Last year was melons and winter squash – in the greenhouse. Had some tricks to learn, but it worked – woohoo!). Tried peanuts once – big mistake but an interesting grow. Until we tried, I did not know that they had to grow up, down, back into the ground to create the peanut. Weirdest thing I have ever seen a food plant do. Not much for peanuts anyway (love P.B.J. though-yum).

My secluded sister spends about two months going through all the catalogs (starts around Thanksgiving) and then presents me with her selections about mid-January. The poor thing comes to me like the Hunchback of Notre Dame; all bent out of shape, glazed eyes, staggering – it’s sad.
 (yes, hee hee, her hair does look like that – she’s gonna kill me for this post.)
I gingerly accept the catalogs and various spreadsheets from her (including all the scribbles, highlights, and sticky notes) and quietly slip into the office to review.
I then have to remember to ask her if she checked all her findings against our current seed collection. You would think by now either she or I would remember do to this first – not. Angry, frustrated, and mentally over-worked she snatches back the documents and heads back to her solitary confinement.

Once again she emerges from the bowels of the porch and presents me with the “updated” documents, and once again I gingerly accept them. I do fail to mention that I have, while she was re-working everything, dug up last year’s seed order inventory, compared it to our spreadsheets on planting and growing progress, and created an updated inventory with which to begin this new year list. Finally:
TADA – HOUSTON WE HAVE LIFT OFF!

Gold stars all around!
This new year’s seed orders are complete and thus sailing into charted waters and:
 A boon be the bounty ahead. Arrrgg Matie.
You can also check me out on: www.lifelessonslived.com for all the fun things I have learned in life.
Follow my blog with Bloglovin
All-New Fire 7 Tablet with Alexa, 7″ Display, 8 GB, Black – with Special Offers

Share this with your friends on:


 (yes, these are two completely different types of tomato sauces, sort of.)