The last several decades have been all about the 3-Rs:
- REUSE
- RECYCLE (or repurpose)
- REPAIR
I’m going to blame mom and her being a child of the depression again. SHE NEVER THREW ANYTHING AWAY (yes, I am yelling it – on purpose – at her because I know she is listening up in heaven.)! This is a great habit to get into, to a point. There does come a time when you just have to say “throw it out!”
Garden hoses are a tough one for me. If it just has a split or two or an end is shot, I will repurpose it. The first three years on our farm were major drought years (worst in 100 years according to locals). We soaked in and tried every bit of advice from where ever it came from:
- Overhead spraying (big waste of water, especially 90+degree days.)
- Ditch watering. Not bad except for it being a great way to feed a ton of unwanted weeds.
- Spot watering. Best, but doing it by hand was awful. I had to split our gardens into three separate areas because it took me all morning just to do one of the three.
Then one day (like it always is – better late than never) it dawned on me: Cut up the old hoses and attach connectors to the ends. This created a bunch of mini-hoses that I could run from area-to-area or plot-to-plot without losing any water in between. I can connect the main hose to the outside faucet. Run that to the first plot and attach a Y-flow connector. Then I can either turn on that plot for watering, or shut that one off and turn on the flow to the next plot/tree/row.
 I can also take smaller bits of older hose and just connect them to flow from growing space to growing space by putting male and female connection ends on them.


Then, a couple of years ago, I found one of the best inventions for gardeners in a long time – The Quick Connector:
 We have a number of rows instead of regular box plots with growing stuff. We also figured out that putting the drip line below the ground by the roots was more efficient than just placing it on top of the soil. After a while, the drip lines can leak or split bigger holes. Having it below ground stops it from spraying in a place we don’t want to be watered, keeps the moisture by the roots where it is needed, and if it is a big leak, it will cause pooling. When I find pooling I mark it until I am done watering that row. Then I grab one of these:
 (This one, by the way, is awesome! The ends (green parts) keep it all together much easier, tighter, and quick to switch out as needed.)
The just “T” in my title stands for “trash” it. It takes a lot for me to decide to toss something in the trash (my sister can verify this – eek). Tin cans, coffee containers (tin and plastic), odd size glass jars (meaning we never use good Ball type jars except for canning), and any size plastic jars are all hung on to by me (Drives the sister nuts – hee hee). Here are just a few of my uses for these things:
- Larger ones like coffee containers are used for my yarn stuff. I can fit one large or a couple of small into a coffee can. Then simply cut a hole in the top and viola’ – perfect way to manage yarn especially if you’re doing more than one color in your works.


- Medium and smaller plastic is great for loose screws, nails, or bits and pieces in the shop that we don’t want to get rid of yet. If it is good shape, it will get reused on some project at a later date.
- Tin cans all sizes and shapes are great for crafting, painting (craft, room or building), holding pens and pencils and stuff.
 (Grandson made this one for me)
- Smaller pieces of broken glass, old rusty nails or metal, any other small sharp material found around the farm (especially in the driveway – after roofing is the worst!) can be put in the tin coffee cans. When it is full, we simply duct-tape the snot out of it and throw it in the trash. Most of it (in a couple of million years) will decompose down and not lead to more flat tires around the house.
There are tons of uses for these types of containers. Just throwing them in the trash seems like a huge waste to me. It does drive my sister nuts, so I promised to try to cut back on the number I save (maybe?). A good friend of ours also used the tin coffee cans to help with his seedlings. He puts the small, delicate plant in the spot he wants it. Then cuts off one end of the can completely (already should be off if you used the coffee.), and only cuts off about 3/4 of the other end. He peels back the partially cut end and places the open end over the young plant. Our winds will dry the heck out of anything young very quickly. This not only protects it from the ugly winds but keeps it a bit warmer in case of a fluke freeze. It also keeps the water in the spot he wants it (the can is sunk part way into the ground to keep it from flying off), and it even helps to keep unwanted critters from attacking or eating all of the young plants. Only had a couple of cans to try his plan with, but it worked. Then the tornado took off with my cans. Time to start saving new ones – woohoo!

I wanted to share this bit of info for those of you that are garden-a-holics like us and have started planning out this season. We are starting seeds this weekend and hope for a mild, boring growing season this year.
 (Ya gotta love SNL and everything Christopher Walken does – both are classics!)
You can also check me out at: www.lifelessonslived.com for all the fun things I have learned in life.
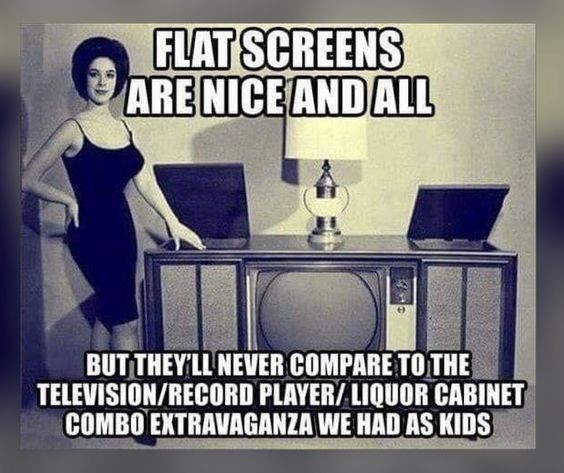
 the early to mid-1960s
 the 1950s
 the 1940s
 the 1930s


 I’m not sure where exactly my love for the rocker came from, I know I can’t go a day without one. There is something so soothing about knitting or crocheting, while I am rocking. My grandmother on my dad’s side was a baker (explains a ton about his love of cooking and my sister’s addiction). My grandmother on my mom’s side died when I was very young. I don’t remember what her passion may have been. My mom insisted that I learn how to knit my very first year in 4-H. She knew how to crochet and always wanted to learn to knit, but never did. She was good at making sure her girls knew how to do things that she never had the opportunity to do (like playing the piano but that is whole other torture).


